Render Smarter in Blender, with Adaptive Samples
· By Richard
Let's talk about another trick to make your renders go faster. Not by using expensive GPUs, or a render farm, but by using the compute power you already have smarter.
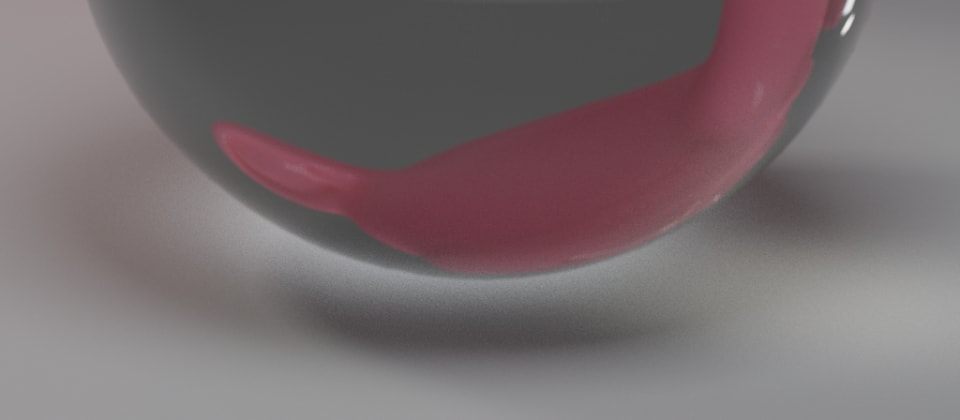
When you're rendering with Cycles, you start off with a grainy image. Over time, the more samples are being computed, the better it looks.
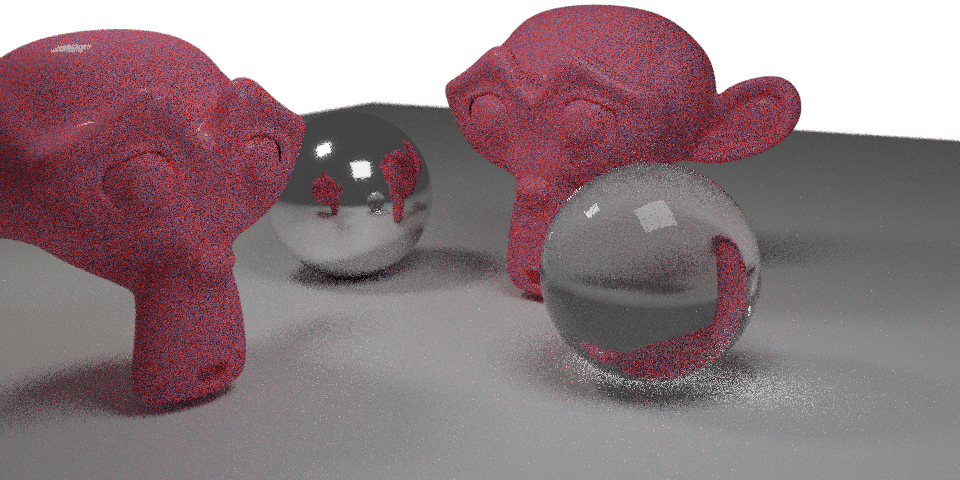
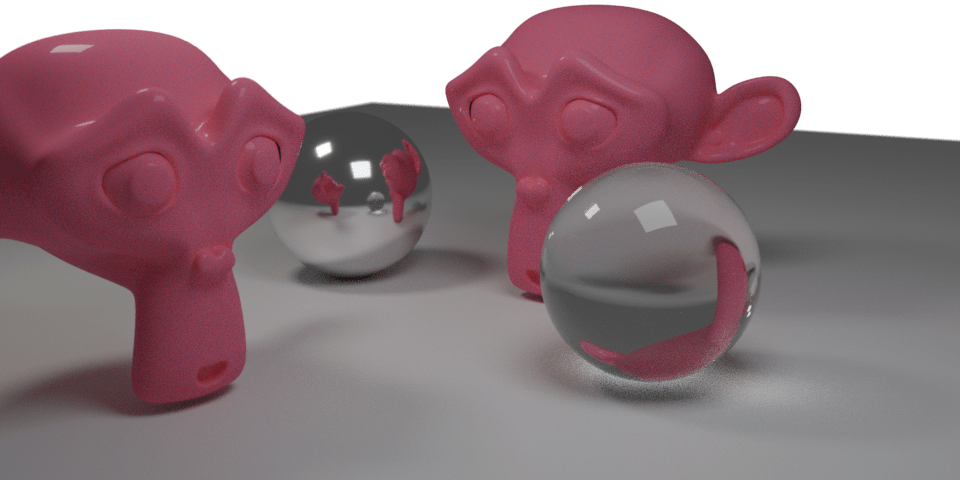
Often times though, some areas of the image are already looking nice and clean, while others are still very grainy. Wouldn't it be amazing if you could laser-focus that expensive render time on those grainy bits? In a "smart" way?
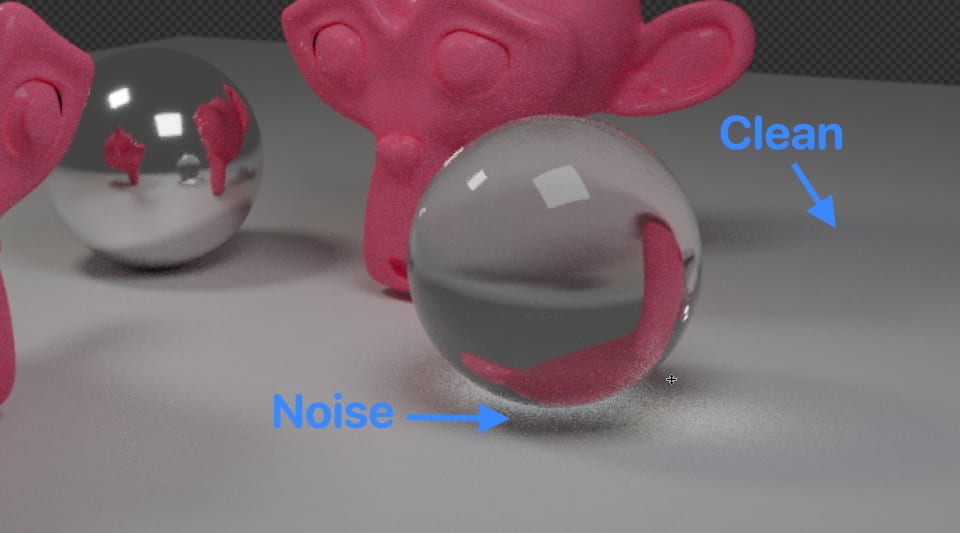
The problem we're solving
This difference between clean and noisy areas as a result of "dumb sampling", that is the problem that Adaptive Sampling is trying to solve. With Adaptive Sampling, we try to "measure" the amount of noise in your image. When the noise is below a certain limit (threshold), we consider it done. This lets Cycles move on to the noisy areas quickly, and render your image way more efficient!
Here's a screencast where I'm walking you through this.
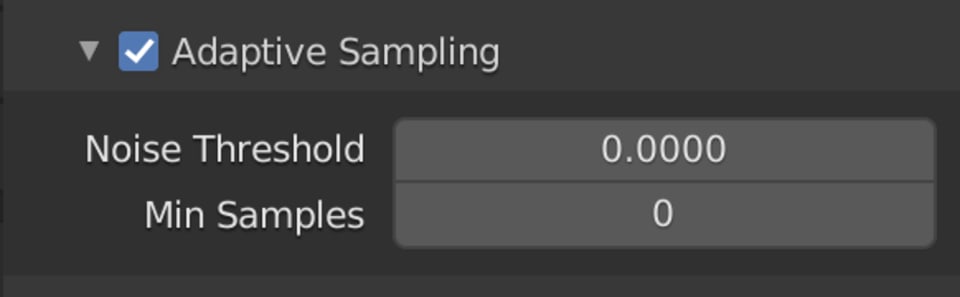
As you see in the video, instead of entering a "Samples Per Pixel" amount for all pixels, we use the Samples value only as an upper limit that we never exceed. When a pixel gets this amount of samples, we stop sampling it, as usual.
However, not all pixels will have to reach this amount of samples, because we can specify a "Noise Threshold". As a pixel is being sampled by Cycles, we measure the noise (using maths). If the noise of a pixel drops below our threshold, we can stop sampling! So if we set our Samples amount to 1024, but we already reach our Noise Threshold after 200 samples, we can "call it a clean pixel" and move on to the next :D Brilliant!
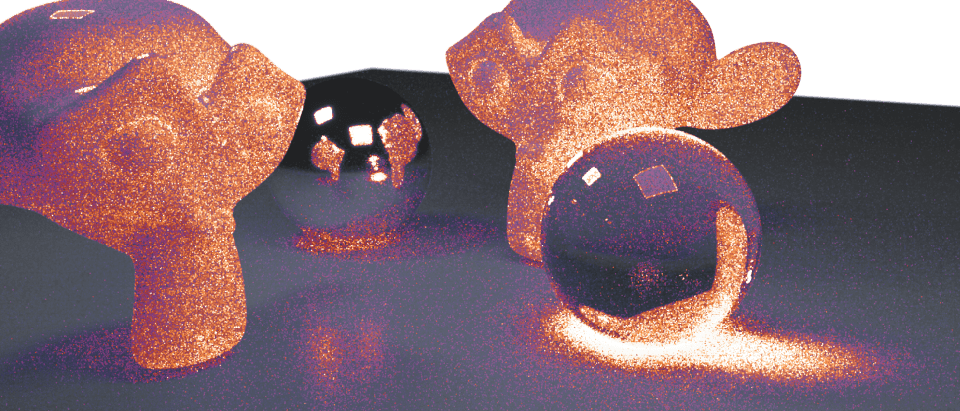
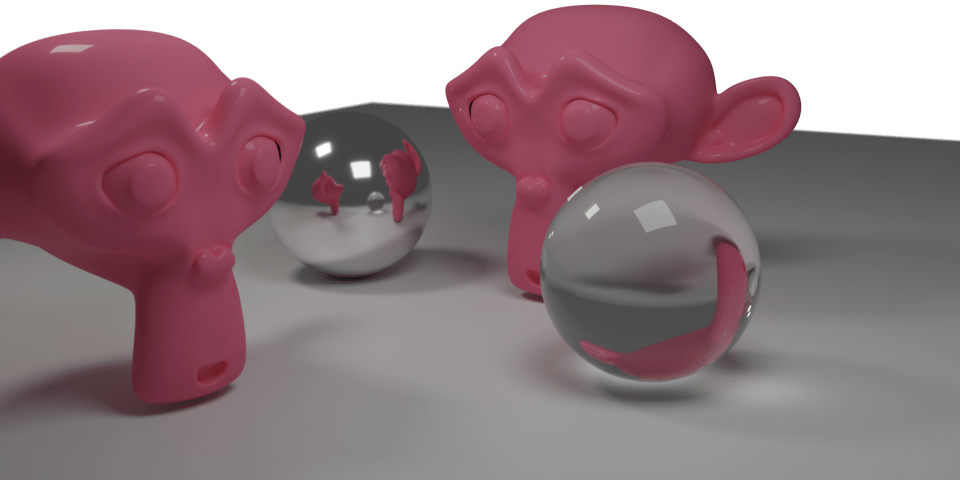
This allows us to rapidly graze over those easy-to-render areas of the image. And our compute power is focused where we need it most. You can enable the Sample Count debug render pass in your View Layer properties to get a good sense of which areas in your image are getting the attention:
Finally, there's a Min Samples setting. This value allows you to tell Cycles to take at least a certain amount of samples per pixel, regardless of the noise level.
The Min Samples setting could be useful if you notice that "simple" areas of your image still have too much noise. And you can make sure that every part of the image gets at least a certain amount of attention. Useful!
Tuning the knobs in the real world
Alright, we know how it works in theory, how do we use this in the field?
Like I mentioned in the screencast, if you are feeling lazy and don't want to bother: Just check the Adaptive Sampling box, and leave all settings at 0.
When you do this, Blender will calculate the values for you, based on your main Samples setting. The Min Samples will be set to the square root of your samples. The noise threshold is calculated based on the samples as well. I'm not sure about the exact formula used here, but I'm sure the incredible Blender devs have carefully thought this through ;)
But if you want to get the most of this feature, this is a way we could go about tuning the knobs:
1. Determine the lower samples value
Find the least noisy part of your image, and determine how many samples this part needs to look ok. Set the Min Samples to this amount you found here.

2. Determine upper samples value
Take the most noisy areas of your image, and find out how many samples you need to make them look good. To do this fast, render the these areas using a "Render Region". Try this with different values of samples until you find a value that gives you a clean result. This is the regular Samples value you will use.
3. Determine the "Noise Threshold" setting
This setting will have the most effect on noise and render time if you've tuned the other two settings well. I recommend you start with a high threshold and work your way down. A value of 0.01 is usually good for a start, it's likely too noisy, then you try 0.005, 0.002, 0.001 etc. until you get a feel for it.

Going through these steps will cause Cycles to focus most on the parts where it's really needed. This will save you time (and electricity) when rendering locally. But even if you prefer to use Blendergrid for rendering faster, give this a try, because it can make your render project cheaper!
Final thoughts and intuition
The greater the difference between Samples and Min Samples, the greater the effect that Adaptive Sampling has. If you think the effect is too much, you can increase the Min Samples to clean up some noise. Or lower the Samples to reduce render.
So on the contrary, if you want an extreme amount of Adaptive Sampling: Set the Samples to some really high value, and the Min Samples to 1. (Remember: 1 is the lowest, not 0 because that will let Blender set it for you, and it will be the square root of your Samples setting)
Then just tune the Noise Treshold to your liking, optimising noise vs. render time. This will make Blender sample until it "thinks" it reached a certain noise level, and it will likely never hit the maximum amount of samples you've set (that's why you can get away with setting it extremely high).